Moving face-to-face curriculum to an online format in a hurry isn’t a small task, but there are a number of ways faculty can leverage new and existing tools to help speed the process.
First, if your university has a campus-wide instance of the Learning Management System, you can use it to share content, post announcements, provide feedback and help students connect with one another. Instructional designers and LMS administrators on campus can assist with these efforts.
Academic Partnerships can bolster support in this area as well. Experts in online course design and delivery, AP can offer faculty workshops or webinars on these topics (and more) as our university partners work to quickly move to alternate or modified delivery modalities in response to campus closures.
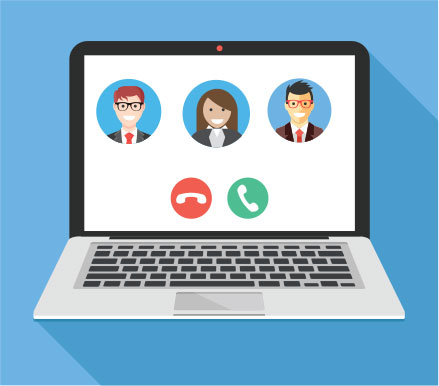
In addition to leveraging the LMS, video conferencing tools are a great way to facilitate synchronous sessions in a virtual setting to ensure that class time and curriculum are not missed.
Below are a set of suggestions and best practices related to the utilization of virtual conferencing tools. Academic Partnerships can provide just-in-time professional development and support to help you get up and running.
Facilitating Synchronous Classes at a Distance
Whether you are familiar with synchronous sessions or this is your first time facilitating a class virtually, using the tips below can help you connect with your students during this time of precaution.
The suggestions here are applicable to any video conferencing tool such as: Zoom, Adobe Connect, Big Blue Button, Go-to-Meeting, WebX, Teams, Google Hangout, Slack, or Skype, in addition to others.
Getting Started
- Select the tool of your choice or the one specified by your institution.
- Schedule your sessions to align with your normal course schedule or as your university advises.
- Record sessions for students not able to attend. Post them to the LMS.
Before Your Session
- Determine the objective of your session.
- Prepare an outline/ agenda, how much time each activity will take, and what interaction you would like with your students. Determine your supporting materials (e.g. PowerPoints, polls, documents to screen share).
- Practice with the tool.
- Use your webcam even if just at the start of the session. Position where the lighting is strong to illuminate your face and avoid distracting backgrounds.
- With more than 10 students, its best to limit to chat upon entry. Even with audio off, you can “call on” students by “un-muting” them.
- Share the session link and time with your students. Encourage them to test their connection. Have a separate link for each of your sections or courses.
Your Session
- Log on 5 – 10 minutes early to configure settings
- When possible, use a wired connection (versus a wireless).
- It’s nice to have an introductory slide or music playing to the welcome students to the session. An initial poll or question can also work well.
- Recognizing by name when responding to a question or comments helps students feel connected.
- Share your guidelines for how you want students to ask questions (e.g. chat, vs. audio).
- Record the session and make students aware that you are recording the session for the benefit of other students.
- Be clear about introductions and who you are calling on.
- If you screen-share, make sure you close other desktop applications to avoid inadvertent sharing.
Other Uses of Video Conferencing in Addition to Lectures
- One-on-one consultations
- Virtual Office Hours
- Live Q&A Sessions / Extra-help Sessions
- Simulations / Scenarios / Negotiating